Hypercube Evolution 3D Printer: Unterschied zwischen den Versionen
Aus ProjectWiki
Mat (Diskussion | Beiträge) (Die Seite wurde neu angelegt: „== Parts overview == frameless|Parts overview == Frame == frameless|Frame == Dampened Feet ==…“) |
Mat (Diskussion | Beiträge) K (→Housing) |
||
| (4 dazwischenliegende Versionen desselben Benutzers werden nicht angezeigt) | |||
| Zeile 7: | Zeile 7: | ||
== Dampened Feet == | == Dampened Feet == | ||
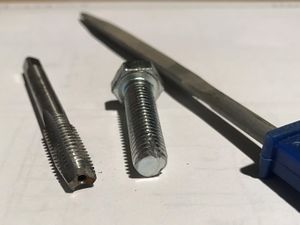
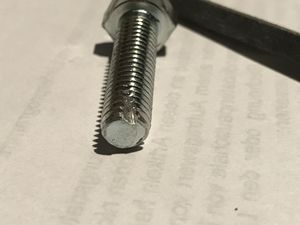
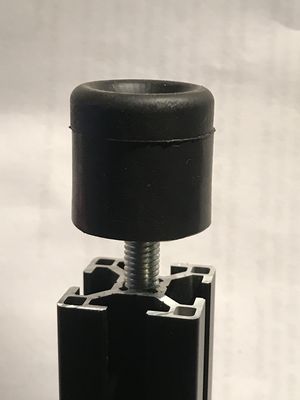
To mount the damper feets, the extrusions need to be tapped. Because the standard 3-flute hand tap does not bite in the first few millimeters, I improvised a 1-flute tap to start the thread and finished it with the 3-flute tap. | To mount the damper feets, the extrusions need to be tapped. Because the standard 3-flute hand tap does not bite in the first few millimeters, I improvised a 1-flute tap to start the thread and finished it with the 3-flute tap. | ||
| + | |||
[[Datei:Hevo improvised tap.jpg|frameless|Improvised tap]] | [[Datei:Hevo improvised tap.jpg|frameless|Improvised tap]] | ||
[[Datei:Hevo improvised tap 2.jpg|frameless|Improvised tap closeup]] | [[Datei:Hevo improvised tap 2.jpg|frameless|Improvised tap closeup]] | ||
| Zeile 13: | Zeile 14: | ||
== Housing == | == Housing == | ||
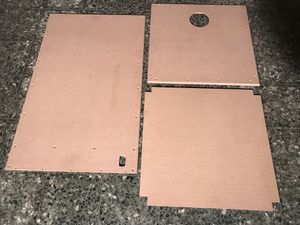
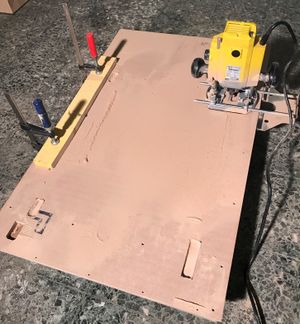
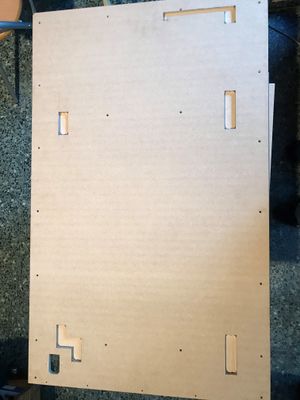
| + | Machining the MDF back-, cover- and base plates | ||
| + | |||
[[Datei:Hevo mdf machined.jpg|frameless|MDF plates after machining]] | [[Datei:Hevo mdf machined.jpg|frameless|MDF plates after machining]] | ||
| + | [[Datei:Backplate_milling_cable_ducts.jpg|frameless|Milling the cable ducts]] | ||
| + | [[Datei:Backplate_milled_cable_ducts.jpg|frameless|Finished cable ducts]] | ||
| + | |||
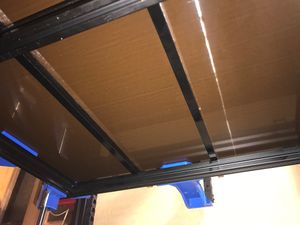
[[Datei:Hevo frame housing.jpg|frameless|Housing plates mounted on the frame]] | [[Datei:Hevo frame housing.jpg|frameless|Housing plates mounted on the frame]] | ||
| + | |||
| + | == Bed assembly == | ||
| + | [[Datei:Hevo bed frame.jpg|frameless|Bed frame assembled]] | ||
| + | [[Datei:Bed_cablechain.jpg|frameless|Cable chain attached]] | ||
| + | |||
| + | |||
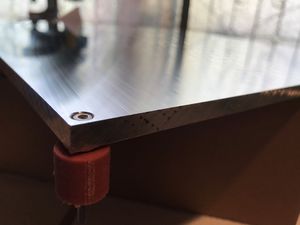
| + | [[Datei:Bed_plate_drilled.jpg|frameless|Machined holes in naked aluminium bed plate]] | ||
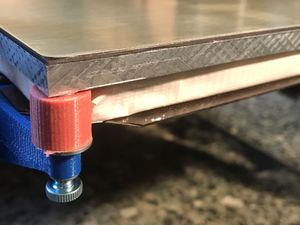
| + | [[Datei:Bed_screw_and_spring.jpg|frameless|Screws and silicone springs mounted]] | ||
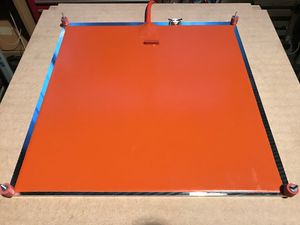
| + | [[Datei:Bed_heater_thermal_fuse_applied.jpg|frameless|Applied the 230V/800W heating mat and a manually resettable thermal fuse]] | ||
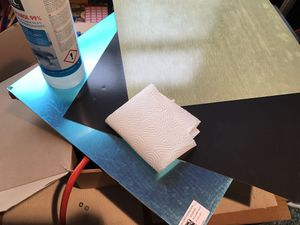
| + | [[Datei:Applying_bed_layers.jpg|frameless|Applying the adhesives to the flex printing surface]] | ||
| + | |||
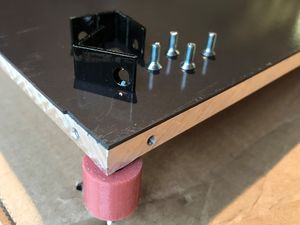
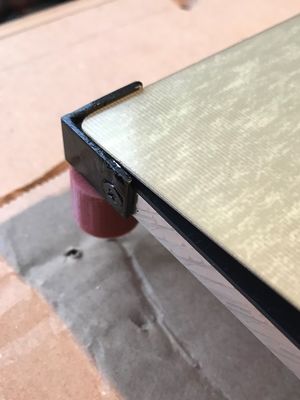
| + | [[Datei:Bed_flex_plate_positioning_brackets.jpg|frameless|Print surface positioning brackets cut from aluminium L-beams]] | ||
| + | [[Datei:Bed_flex_plate_positioning_brackets_mounted.jpg|frameless|Positioning brackets mounted]] | ||
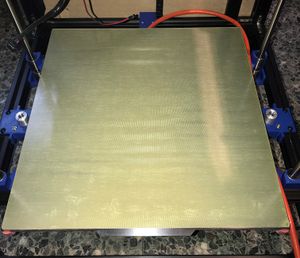
| + | [[Datei:Bed_print_surface_fr4.jpg|frameless|FR4 print surface]] | ||
| + | |||
| + | |||
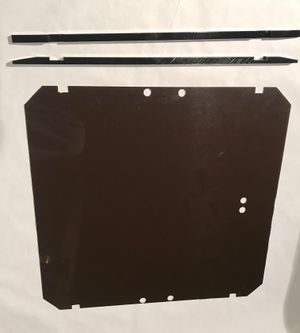
| + | To hold the insulation material beneath the bed in place, I've made this support plate: | ||
| + | |||
| + | [[Datei:Bed_insulation_material_support.jpg|frameless|Cutted beams and drilled support plate]] | ||
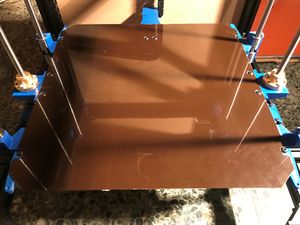
| + | [[Datei:Bed_insulation_support_top.jpg|frameless|Support plate sitting on top of the bed frame]] | ||
| + | [[Datei:Bed_insulation_support_bottom.jpg|frameless|Support plate seen from below]] | ||
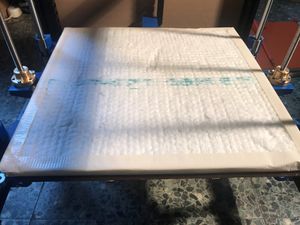
| + | [[Datei:Bed_insulation.jpg|frameless|Bed insulation material, the sides are covered in tape to prevent fluff]] | ||
| + | |||
| + | |||
| + | [[Datei:Bed_completed_assembly.jpg|frameless|Bed assembly completed]] | ||
| + | |||
== Z-Axis == | == Z-Axis == | ||
| − | |||
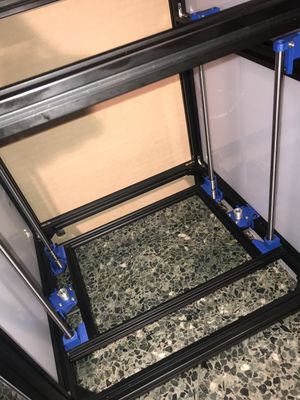
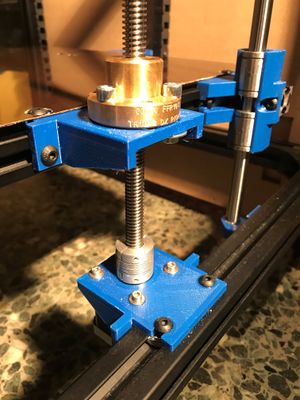
[[Datei:Hevo z linear guides.jpg|frameless|Z linear guides and bed frame mounted]] | [[Datei:Hevo z linear guides.jpg|frameless|Z linear guides and bed frame mounted]] | ||
| + | [[Datei:Z_linear_screw.jpg|frameless|Z axis linear screws mounted]] | ||
| + | |||
| + | |||
| + | == X-, Y-Axis == | ||
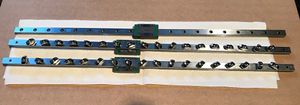
| + | [[Datei:Linear_rails.jpg|frameless|Linear rails cleaned, greased and ready to be mounted]] | ||
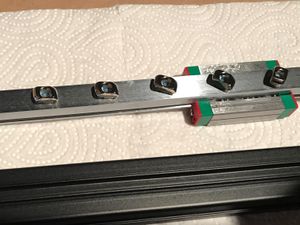
| + | [[Datei:Linear_rails_detail.jpg|frameless|Applied some screw lock]] | ||
| + | |||
| + | |||
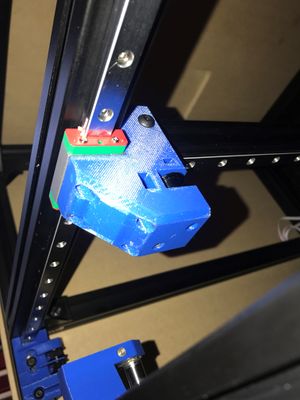
| + | [[Datei:Y_carriage_on_rail.jpg|frameless|Y carriage on the rail]] | ||
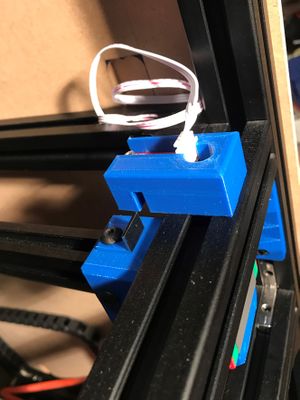
| + | [[Datei:Y_optical_endstop.jpg|frameless|Optical end stop on the Y-axis]] | ||
| + | |||
| + | |||
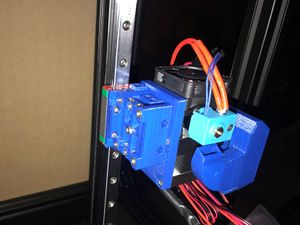
| + | [[Datei:X_carriage_front.jpg|frameless|X carriage and hot end front view]] | ||
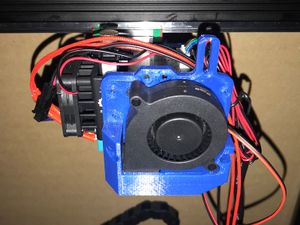
| + | [[Datei:X_carriage_below.jpg|frameless|X carriage and hot end from below]] | ||
| + | |||
| + | |||
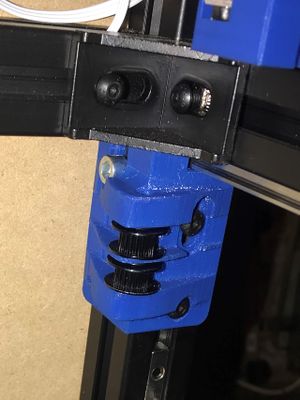
| + | [[Datei:Belt_idler.jpg|frameless|Belt idler mounted]] | ||
Aktuelle Version vom 17. Mai 2021, 21:10 Uhr
Inhaltsverzeichnis
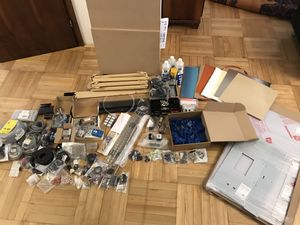
Parts overview
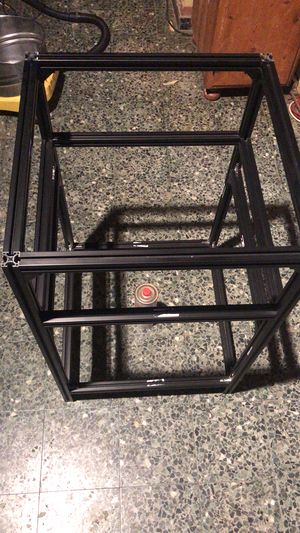
Frame
Dampened Feet
To mount the damper feets, the extrusions need to be tapped. Because the standard 3-flute hand tap does not bite in the first few millimeters, I improvised a 1-flute tap to start the thread and finished it with the 3-flute tap.
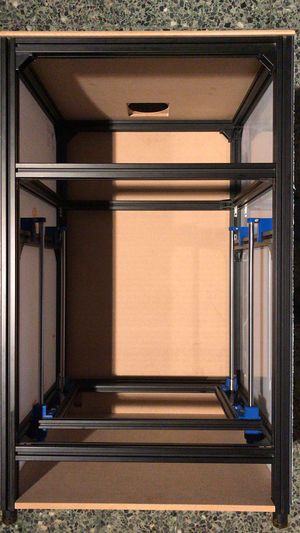
Housing
Machining the MDF back-, cover- and base plates
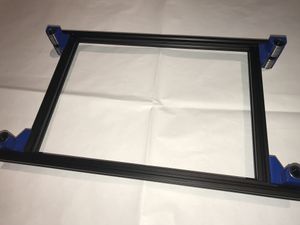
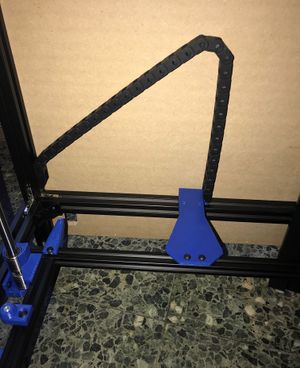
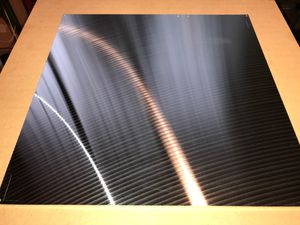
Bed assembly
To hold the insulation material beneath the bed in place, I've made this support plate:
Z-Axis
